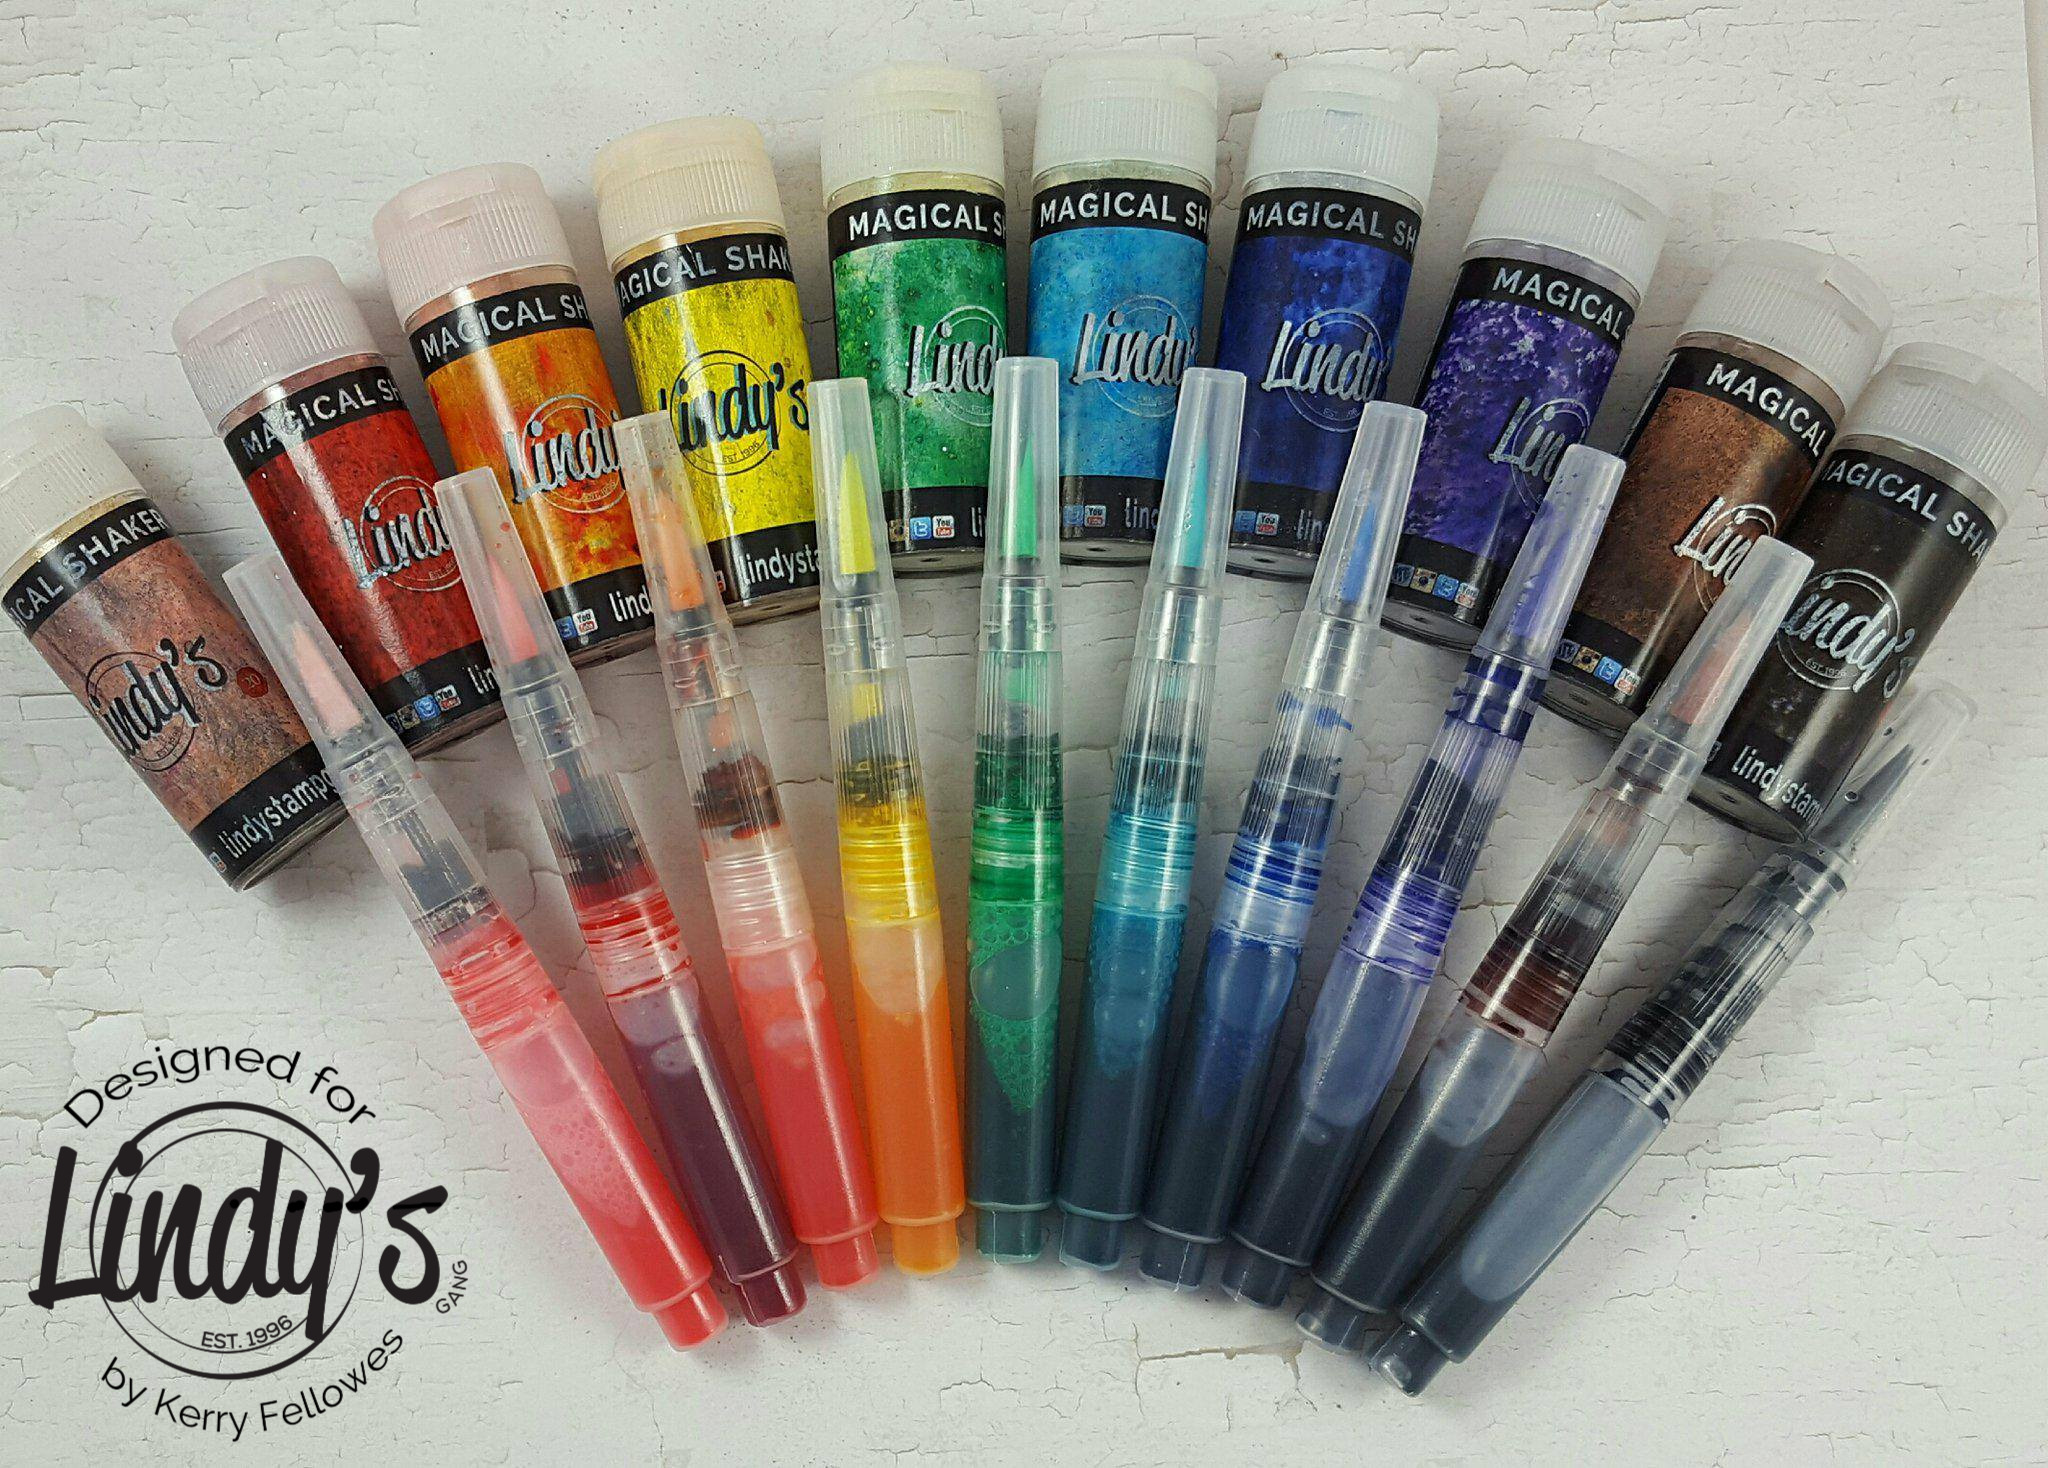
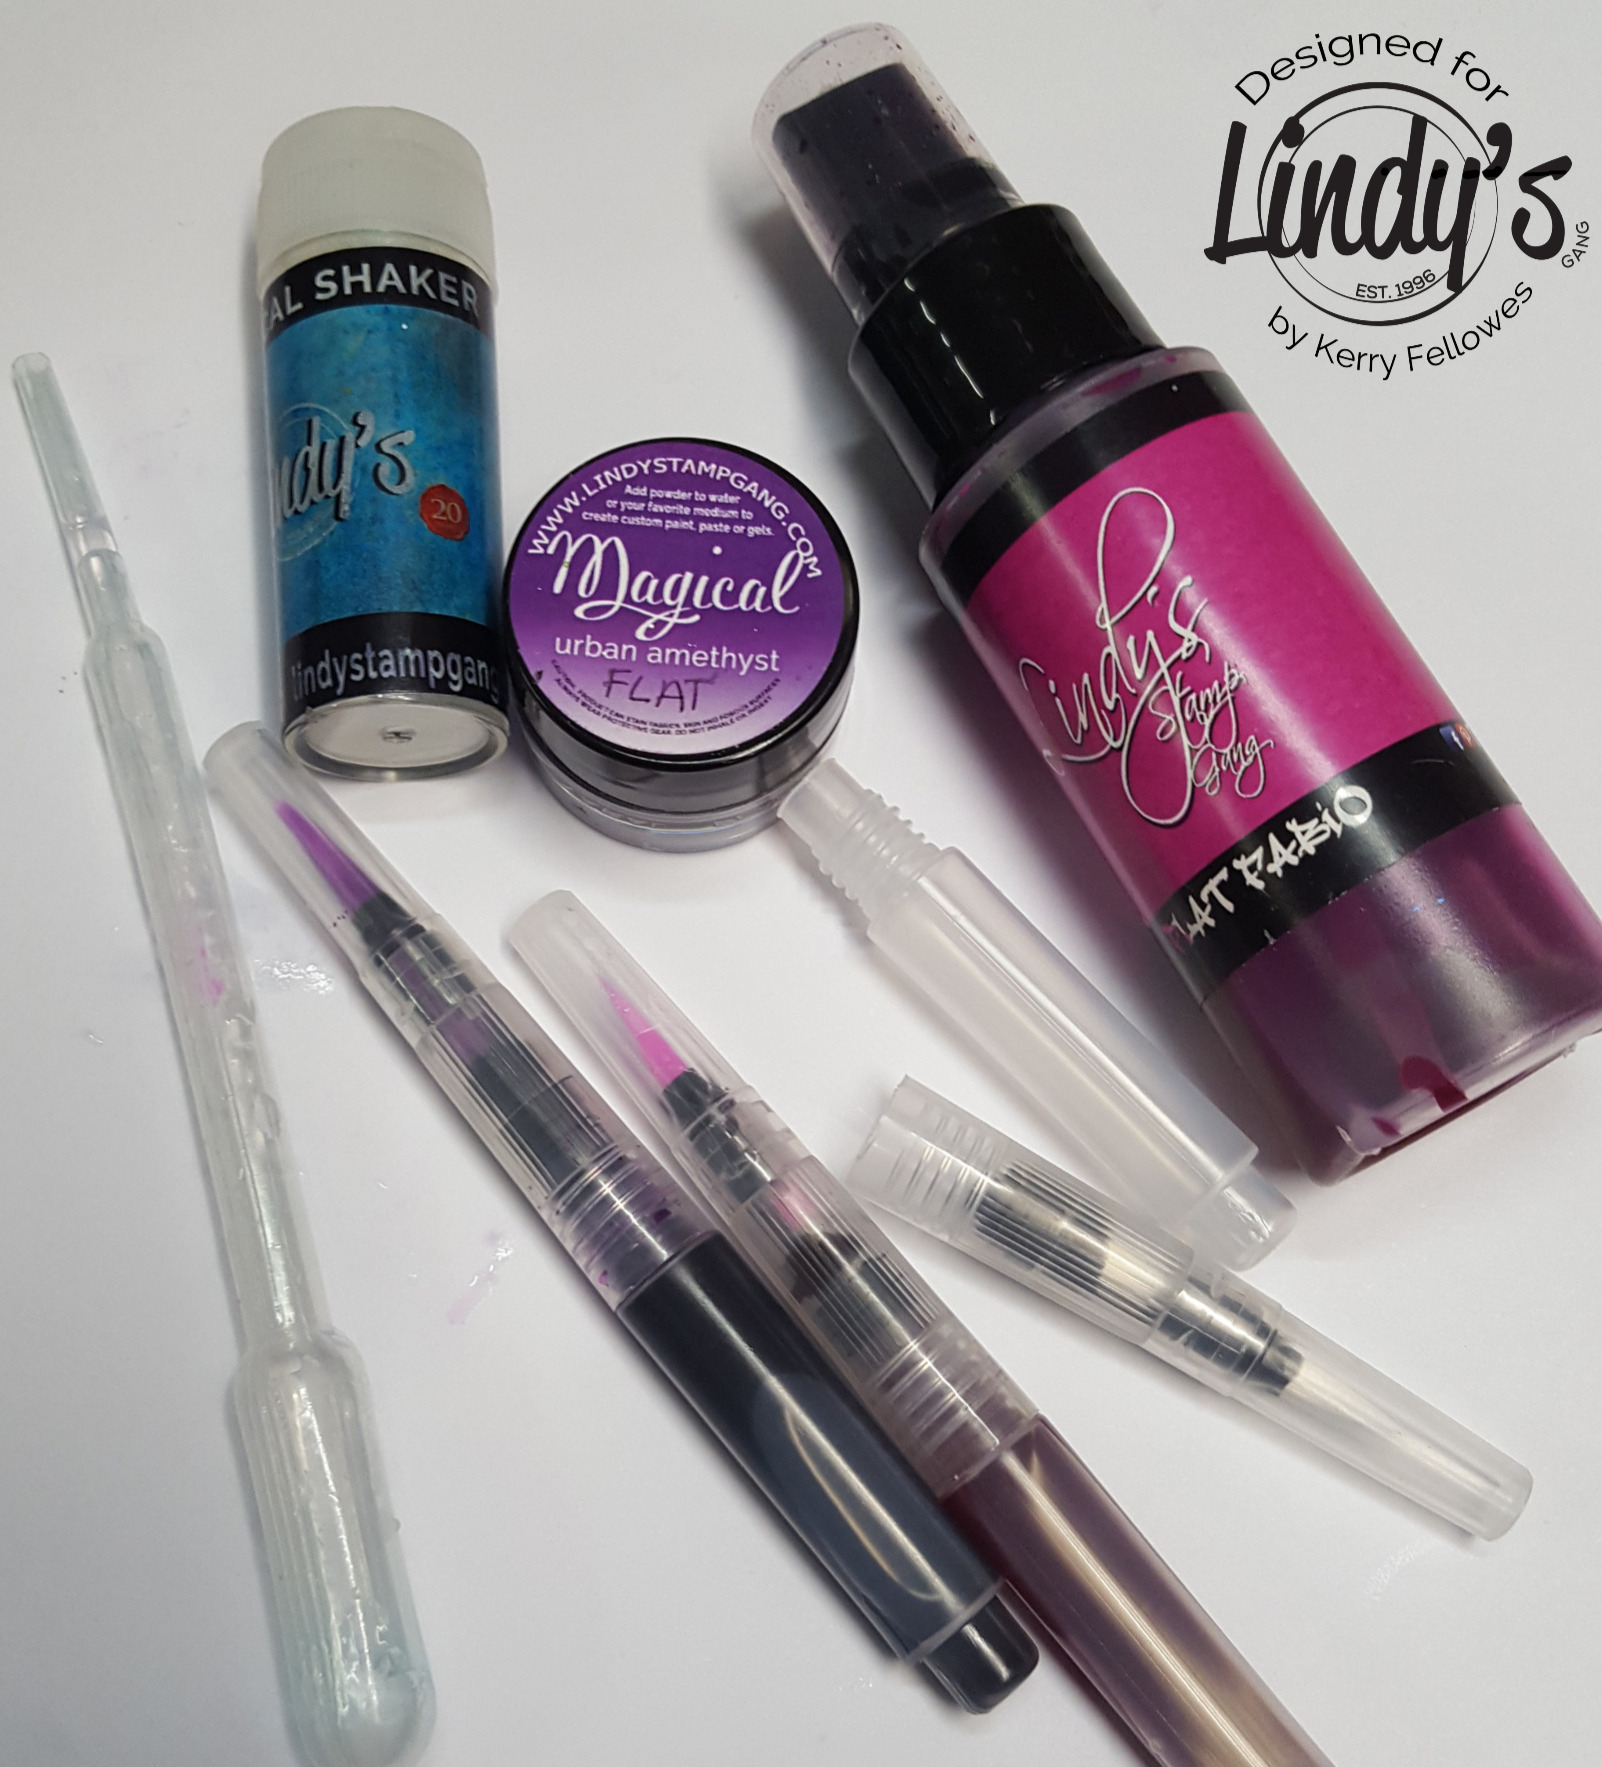
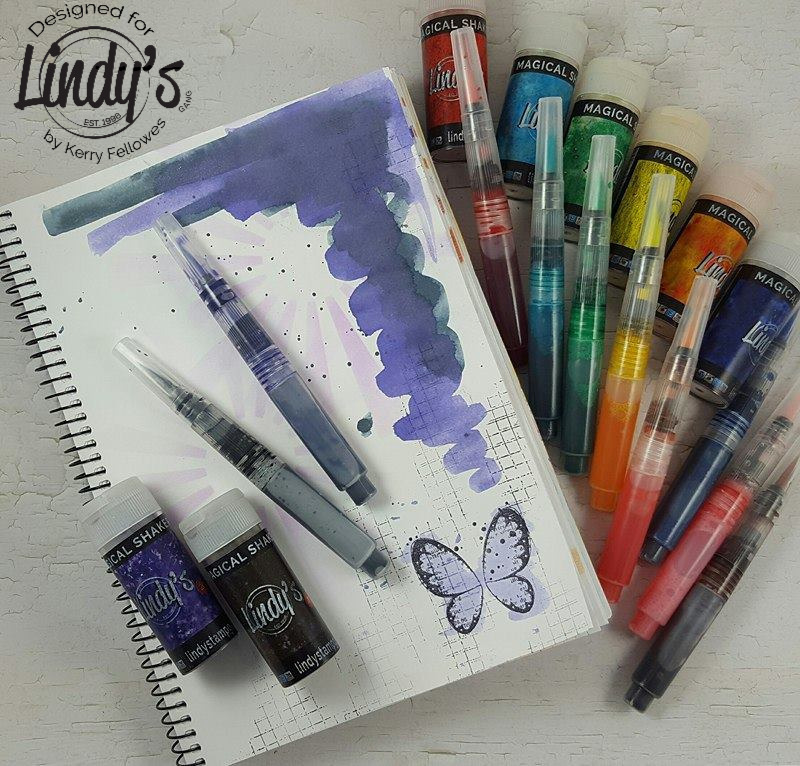
You will need some empty water brushes, your favorite Lindy's Magicals or Sprays, a pipette, a small scoop and a plastic cup and some pre boiled water.
I have used 3 methods to make these 'magical markers'.
Method 1:
Using a small scoop, add a small amount of the magical powder to the canister or reservoir of the water brush, remember you only need a tiny amount of powder. Then use the pipette to fill up the canister with the pre boiled water, screw on the brush top and you are done!
Method 2:
Add a small amount of magical powder to a plastic cup, add some of the pre boiled water to the cup and mix the powder till dissolved, Using the pipette, add the color to your water brush canister, screw on the brush top and voila!
Method 3:
Take a Lindy's spray bottle and swirl to ensure your color is mixed properly and unscrew the top, use the pipette to draw up some of the color and deposit it into the canister of the water brush, re attach the brush top and there we have a 'Magical Marker'!
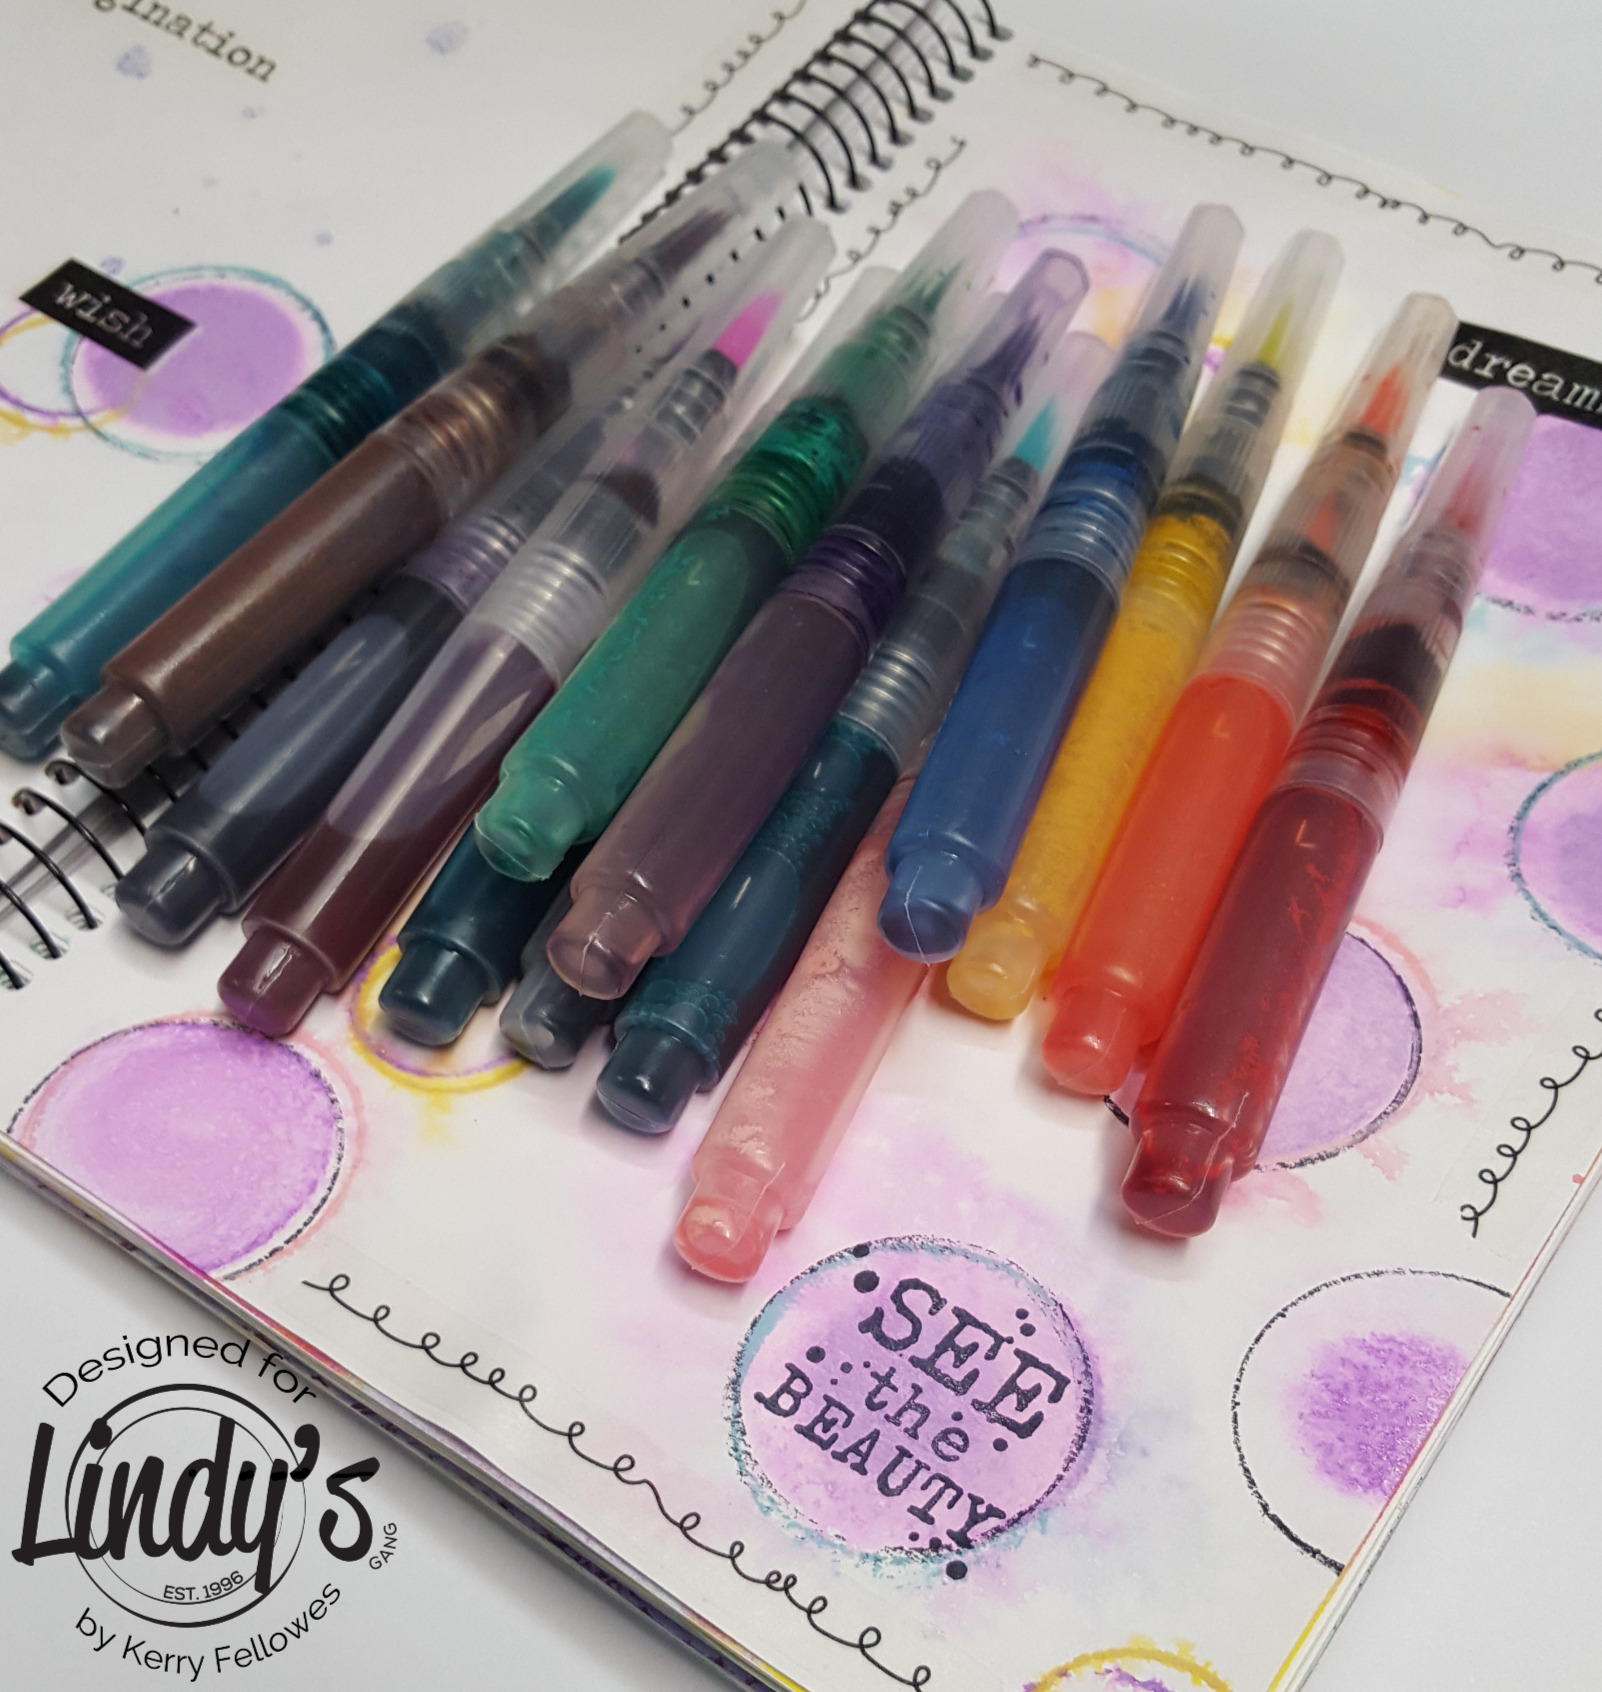
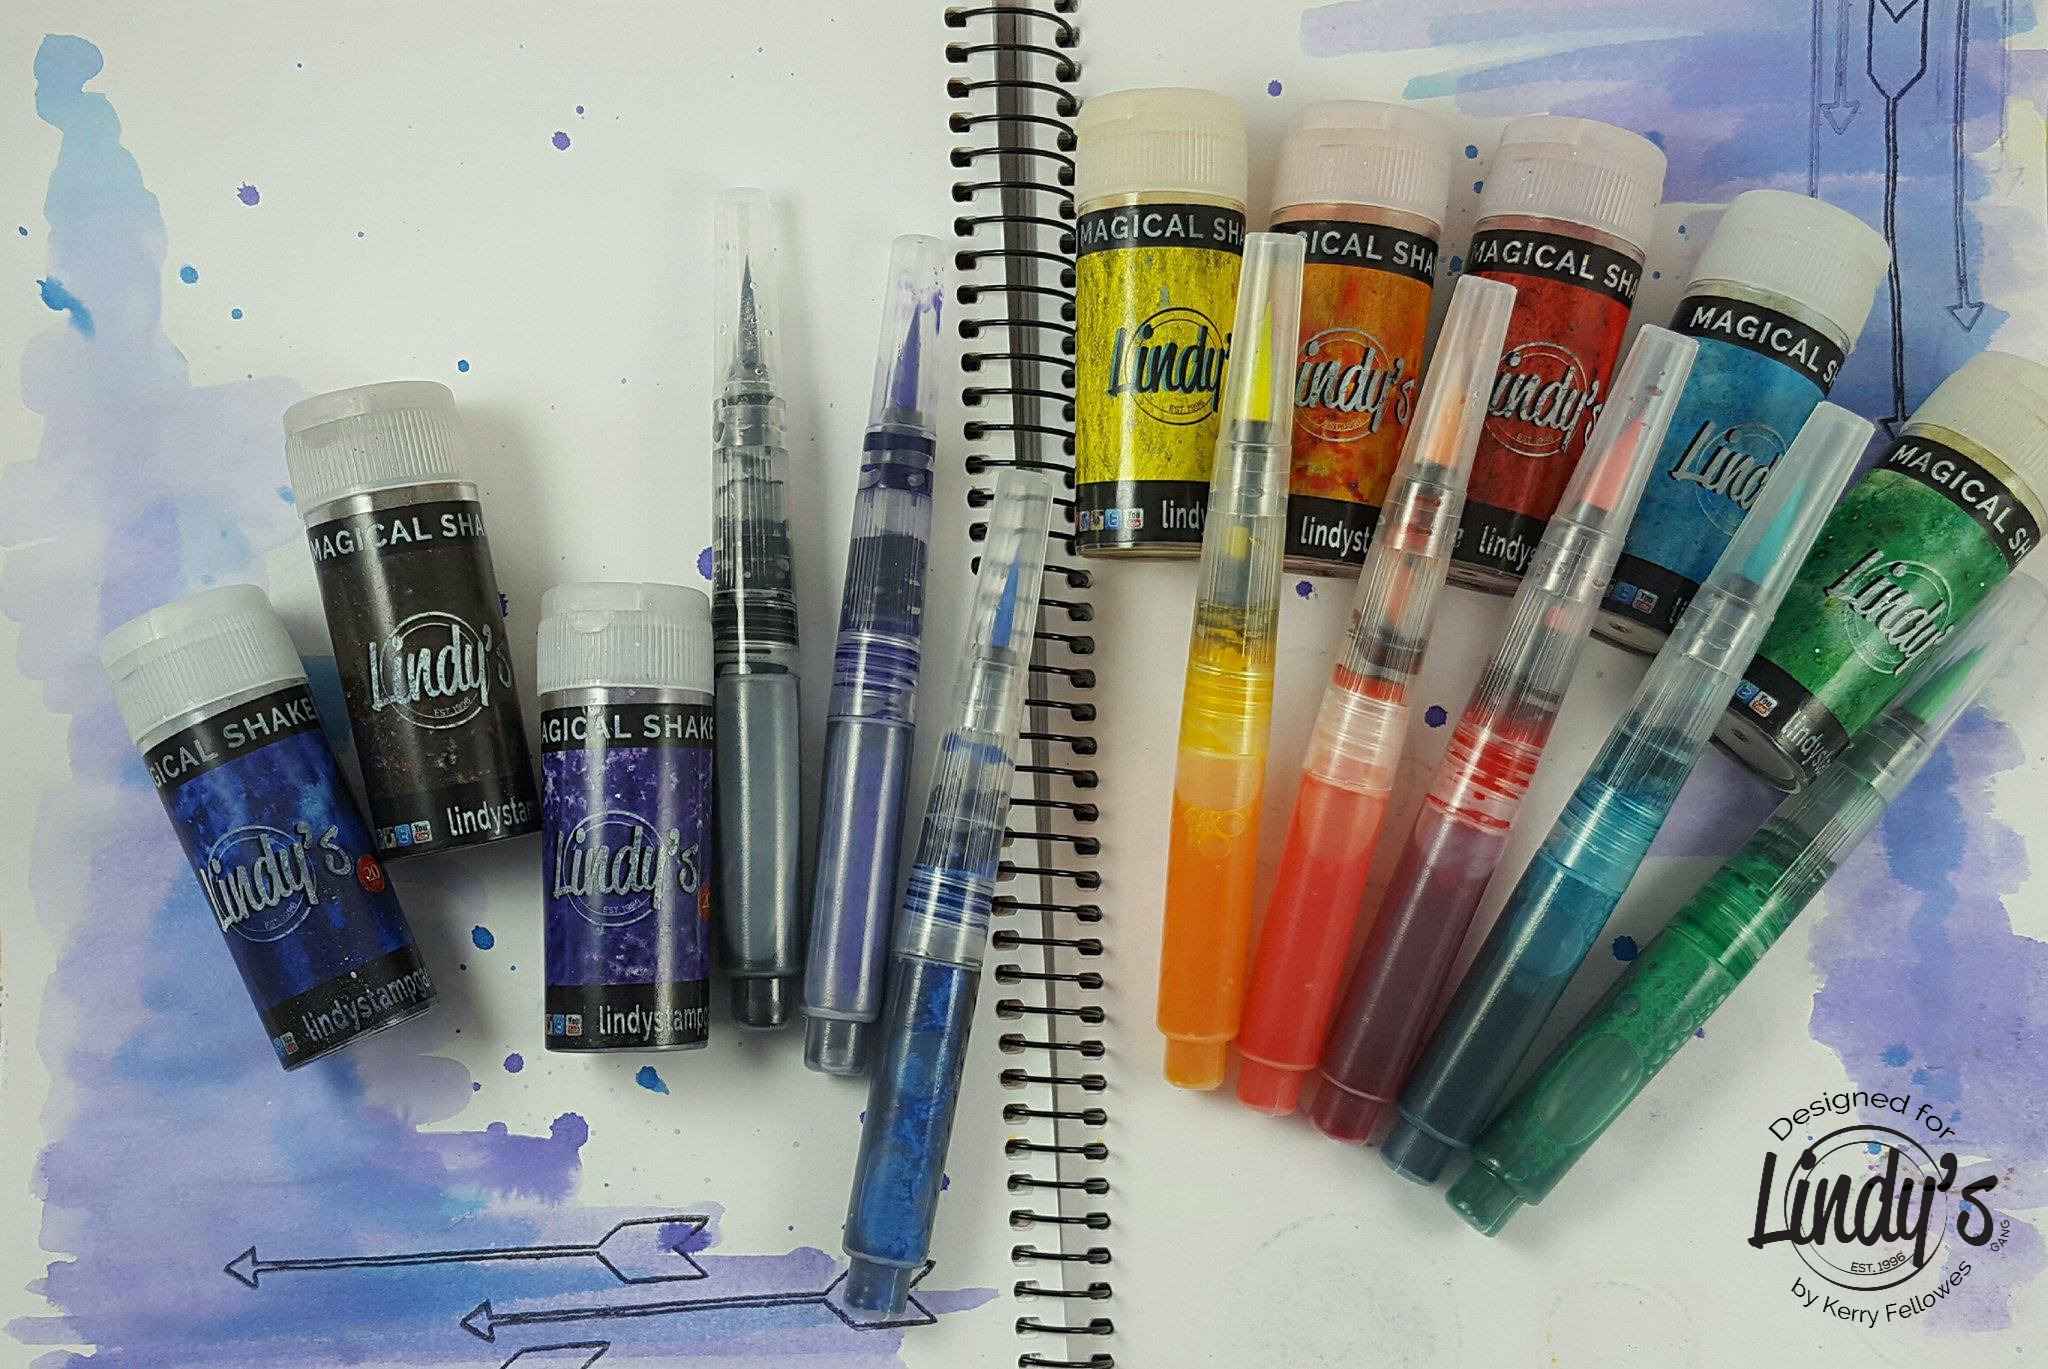
Simple and versatile. You can make just a few, or make them in every color.
You could also experiment and mix up some of your own custom colors!!! Now that would be Magical!
You can follow along with the step by step video below for a more detailed look at the process.
Thanks for dropping by and have a Magical Day x
No comments:
Post a Comment